How to Use a Keurig Mini – If you’re in the market for a new coffee maker, be sure to check out the keurig mini! This nifty little machine is perfect for small kitchens or dorm rooms. In this blog post, we’ll walk you through all of the steps needed to get started using your keurig mini. Make sure to read through everything before starting so that you have a clear understanding of what to do. Enjoy!
Table of Contents
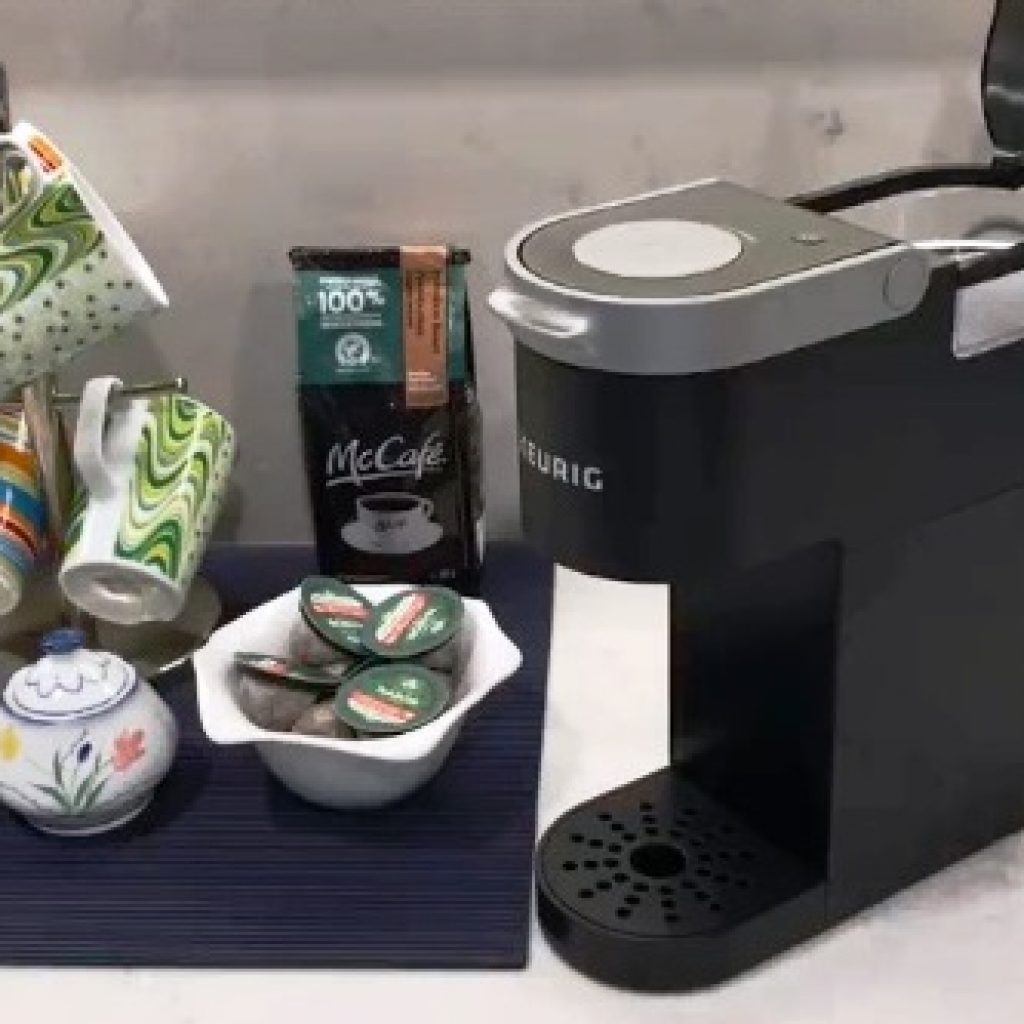
1. Get the keurig mini set up.
The keurig mini is small and convenient to carry around. All you need is the device, a k-cup, water and electricity. The keurig mini comes with easy to follow instructions that will have you up and running in no time
- Choose your favorite K-Cup flavor
- Use the coffee maker’s programming features to create your perfect cup of coffee every time
- Clean up quickly – the keurig mini is easy to clean
2. Fill it with water and coffee (or any hot beverage).
The keurig mini is perfect for on-the-go situations. It’s small enough to fit in your purse or pocket, and you can take it with you anywhere. Plus, the keurig mini produces great tasting drinks that won’t leave you frustrated. To use the keurig mini:
- Fill it with water and coffee (or any hot beverage).
- Plug it into an outlet.
- Press the button located on the front of the machine to turn it on.
- Place your mug beneath the spout to begin brewing your drink.emailearners has put together a simple step by step guide that will help make using this amazing machine as easy as possible!
3. Plug the mini into an outlet and turn it on.
When you first turn on your Keurig mini, it will take a few minutes to warm up. Once it’s ready, the screen will display the current language and date format. If you have any questions or problems, please contact our customer service team. Don’t worry if you ever lose your Mini—just plug in the micro-USB cable that came with it and turn on the machine by pressing either of its buttons. After verifying that everything is in working order, we suggest taking care of some basic maintenance tasks like cleaning out the water tank and descaling the coffee maker every six months or so. That’s all there is to it!
4. Choose your drink from the menu on the screen.
In this blog post, we will teach you how to use a Keurig Mini.
- First, select your drink from the menu on the screen.
- Next, press the button that says “Brew” and wait for the machine to heat up your drink using hot water and coffee grounds.
- After your drink is prepared, simply take it by its handle and enjoy!
5. When you’re done, press the button to eject your cup and discard it in the trash.
You’re probably used to the sound of your Keurig Mini brewing coffee. But when you’re done with your cup, don’t just pressing the button and discard it in the trash — it’s actually dishwasher safe! That’s because when you’re finished with your cup, instead of simply depressing the “Eject” button on top of the machine, grab a kitchen cloth and wipe down all sides of the machine. Then place the dishwasher-safe mug inside and press start. The built-in filters will quickly clean up any residue left over from making coffee. Of course, if something does go wrong (like water spills onto your machine), unplug it immediately and call technical support for help. They’ll be more than happy to walk you through a step by step troubleshooting guide so that your beloved Keurig can continue brewing delicious cups of joe without issue.
6. Rinse off the mini, if necessary, and put everything back together just as you found it!
It is important to take care of your Keurig Mini before using it. Before each use, make sure that the mini has been rinsed off and all the pieces have been put back together just as you found them. This will help keep your mini clean and free from any potential damage. If dirty water should accidentally enter the mini through its various openings (water reservoir, coffee pod holder, brew selector), it will be able to infiltrate and ruin its components. The accumulation of residue over time can cause malfunctions or even a complete breakdown of your machine. Therefore, always make sure to drain any residual coffee after brewing in order to prevent these problems from arising in the first place!
Thanks for reading! In this blog we discussed how to get started with using a Keurig Mini. We covered things such as setting it up, filling it with water and coffee, choosing your drink, and rinsing it off. Finally, we put the mini back together just as we found it! I hope you found this article helpful. If not, be sure to check out our blog for more tips and tricks on all things related to coffee brewing.


