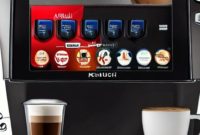
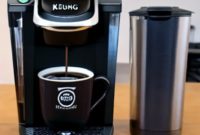
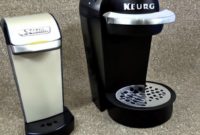
It’s the same process for all at home brewers with a water reservoir, so we’ll use the Special Edition for purposes of this demonstration. It’s an important process to learn as proper maintenance is important for optimal brewer performance.
In preparation, you’ll need the brewer, a clean mug soft cloth and access to an empty sink. Turn off your brewer then remove and empty the water reservoir into the sink. If you have an optional Keurig water filter remove it and set it aside. Locate the base port on the brewer below the reservoir, then dampen your cloth and clean the area of any particles.
Power on the brewer. If you have an optional Keurig water filter, place it back into the water reservoir, then fill the water reservoir with fresh water. Place your empty clean mug on the drip tray and perform a water only brew cycle. Empty any remaining water from the water reservoir into the sink. If you have an optional Keurig water filter, remove it and set it aside.
Using a full stream of water, carefully aim the faucet at the mesh screen that’s inside the reservoir to help free any particles. Fill the water reservoir to about one third of the way full then place the lid on the reservoir and cover the back hole with the palm of your hand to prevent any water from releasing. Then shake the water in the reservoir vigorously for approximately five seconds and then empty the water into the sink. Locate the external port on the bottom of your water reservoir.
Now carefully aim the faucet water stream at the external port to help free any particles. Then, using your finger, gently rub inside the port to clean it. Note that there is a spring in the port, which should be flexed by pressing it up and down while streaming water at it. Empty any remaining water from the water reservoir into the sink.
If you have an optional Keurig water filter place it in the reservoir then fill the water reservoir with fresh water and return it to the brewer base. Lastly, place your mug on the drip tray and preform a water only brew cycle. Your Keurig brewer has clean filters and is now ready for normal use. Don’t forget that it’s important to follow proper and regular maintenance of your Keurig brewer to optimize its performance.
